Indoor Cycle Felt Brake Pad Restoration
About This Video
Tools Needed: Clean, hard bristle wire brush, 4mm Allen wrench, and Silicone spray lube.
Replacing the brake pads on your Schwinn Indoor Cycle due to a loud squealing is not the only solution. You can bring that old pad back to life as long as it has a good thick felt that doesn’t crumble off during the restoration process.
If the pads must be replaced, the following process will also prolong the life of the new pads.
Remove and inspect the pads. If the pads still have plenty of felt, the squealing is probably due to hardening or glazing of the felt pads.
End that annoying squeal by roughing up the felt pad with a clean, hard bristle wire brush. Once the felt has been roughed up, trim any excess felt from around the edges and saturate the felt with silicone spray.
Re-install the pads and you are back in business!
Ultimate Sandbag Training
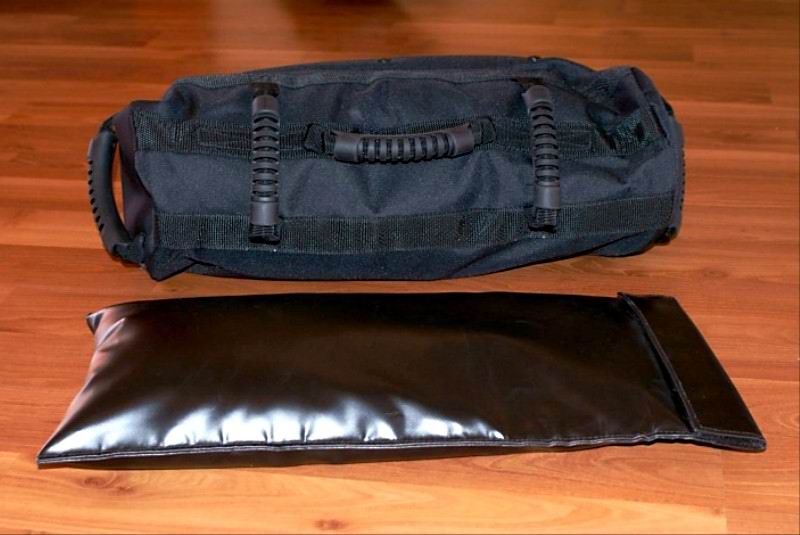 Working out with sandbags is similar to using a balance or wobble board (or products that achieve a similar result). While using those, you stand on an unstable surface and try to keep your body’s balance on top of the constantly shifting surface. This forces your body to use muscles rarely used in daily life, particularly the core muscles of your lower abdomen and back. Sandbag workouts use a similar principle. Instead of a single, hard lump of weight like a barbell, a sandbag shifts around constantly while in use, and this forces your body to make small adjustments. This works muscles rarely used (as mentioned before, it’s similar to using a balance board), with the addition of applying a traditional workout to your arm and leg muscles. There really isn’t another product out there that can boast of this versatility. Usually, core muscle workouts are separate from other types of exercise, but a sandbag combines them into a unique, and exhilarating exercise program that almost anybody can do. Sandbag training is also catching on with various sports, particularly the NBA. They are also being implemented into the popular high intensity interval training exercise programs.
SPORTSMITH currently carries two varieties of sandbags. These bags are incredibly sturdy and will withstand years of regular use. The outer shell is made of heavy-duty material, and each bag has several grip options for various uses in your workouts. Note that the bags do NOT ship with sand or other filler material. This is to minimize shipping costs. However, this leaves it up to you as to how to fill the bags, as you can use heavy materials like sand, or use lighter material like rice or wood chips. This lets beginners and experts alike tailor their exercises to their own personal needs. Variety and versatility is what these bags are all about!
The first product we carry is the “Ultimate Sandbag Power Package”. This comes with a 9” X 19” bag and two filler bags. These bags can be filled up to twenty pounds each. This package also includes an instructional DVD and a wall map to aid in your training.
The second product we carry is the “Ultimate Sandbag Strength Package”. This one comes with a 10” X 27” bag and two filler bags that can be filled up to forty-five pounds each. As with the Power Package, this also comes with an instructional DVD and a wall map.
SPORTSMITH is excited to bring you these new products. We strive to stay on the forefront of new and unique fitness products, and to bring them to you at the best cost possible!
How to Test a Potentiometer
Tools Needed: Ohm Meter
Most potentiometers have three connectors. Two are the total and non varying resistance of the potentiometer, referred to as ends. The third is the variable resistance, referred to as the wiper.
If it is unknown which connections are which you can perform the following tests and determine their location.
Ensure that the meter being used for testing is equipped with a range capable of testing the potentiometer in question. Remember to always set your meter to one range higher than the component being tested. The potentiometer used in our video is rated at 1000 ohms or 1k Ohm, so we will be using the 2k setting on our meter.
If any of these tests results in an open or no reading the potentiometer is bad.
When taking a reading from either of the two ends and the wiper you should get a reading equal to the adjustment of the potentiometer. This can be verified by having someone adjust the potentiometer while taking a reading.
When taking a reading from the two end poles you should get a reading equal to the potentiometer’s rating, as is the case in our example, 1000 ohms or 1k ohm. This reading should only vary slightly if any when the potentiometer is adjusted.
For more info click here
Red Pedal Tool
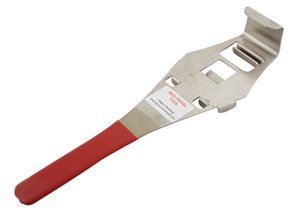 Are you an indoor cycle instructor or a spin enthusiast that is tired of wrestling with the removal of the toe cage found on the popular Schwinn Triple Link pedals? You know what kind of headache it is to remove the shoe clip before a class so the pedals are ready for LOOK or SPD shoe cleats.
Now there’s an easier way with the Red Pedal Tool. No more delayed classes, bruised knuckles, or broken pride. With the Red Pedal Tool, Triple Link pedals can be removed safer and easier from your indoor spin bike.
The Red Pedal Tool eliminates the hassle instructors or members face when removing the toe cage used for regular running shoes to make pedals SPD or LOOK compatible.
The Step360™
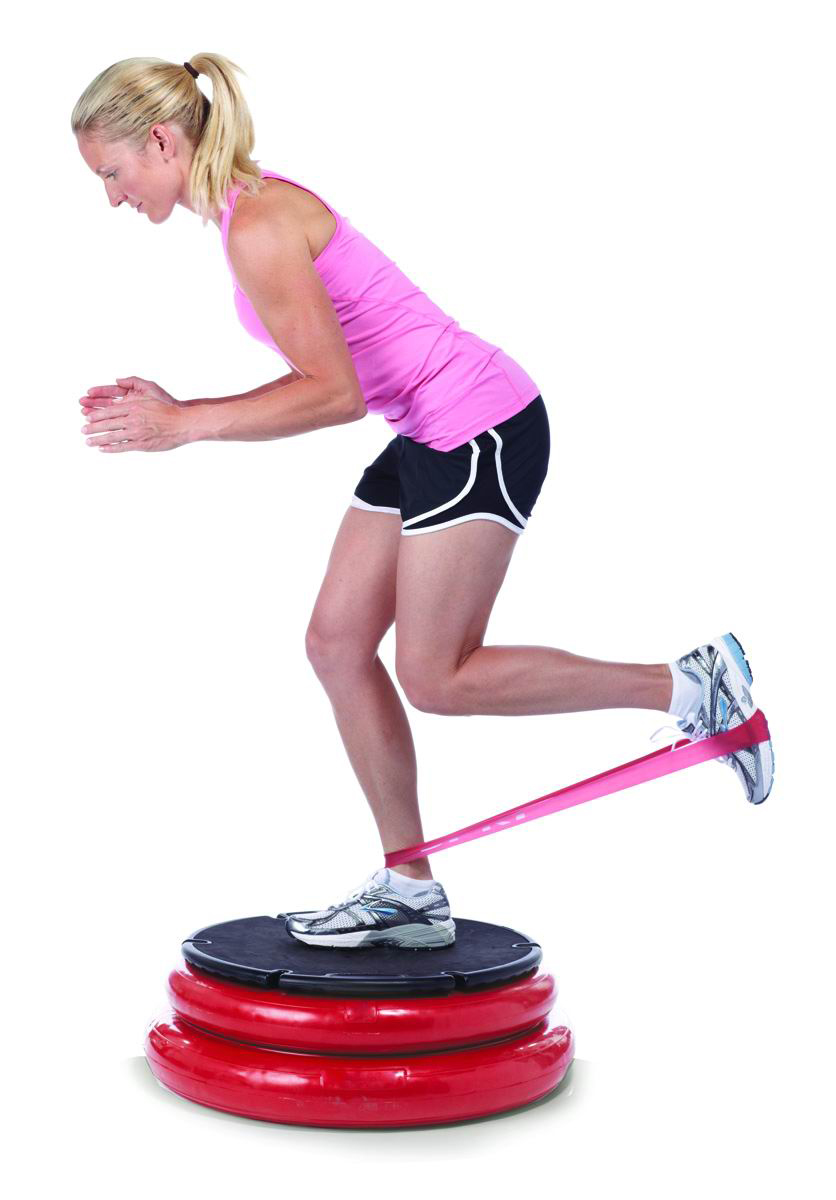 Most gym goers would find themselves familiar with the original Step. For decades this piece of fitness equipment has been firming abs and toning bodies. The original Step has been a core component for group exercise Now a brand new product, and one that has fitness experts and trainers very excited. It’s called the The Step360, and it combines the best features of several popular balance and exercise products while adding new features never before seen in similar products.
Designed by martial artist John Cole to help him with single leg kicks, the The Step360 consists of two inflatable round tubes topped by a flat, hard board. This story explains a little of how the Step360 came to be. This setup allows for all the balance and strength training of a balance board or Bosu, but the flat surface emulates the natural position of the feet, unlike similar “squishy” products that have you attempting to balance on a soft, pliable surface. The Step360 is completely adjustable to any experience level as well. Simply inflate the tubes fully (using a simple hand pump) for an easier workout, or inflate them less and less for a much more challenging experience. If you’re a beginner at balance exercise, then you can simply only inflate a single tube to make things easier.
The Step360 also includes a feature that no other product can boast of. Along the sides of the flat board are notches where you can attach resistance bands, which will give you a true multi-purpose workout. Just try using a resistance band while balancing on the half-inflated tubes and you’ll understand the true meaning of challenge! The Step360 also functions as a step trainer, which has been proven to be an extremely efficient cardiovascular workout. You can also simply combine any of the aspects of the Step360 to form your own personalized workout.
One of the most respected trainers in the fitness world, Jessie Pavelka, has worked extensively with the product and has designed several quick, high-intensity workouts that will help with virtually all aspects of your workout and fitness routines. Fitness expert Robert Sherman has also been instrumental in designing workouts and classes based around the Step360. The Step360 comes with a wall chart showing you various exercises, and an instructional DVD.
Sportsmith Digital Catalog 61!!
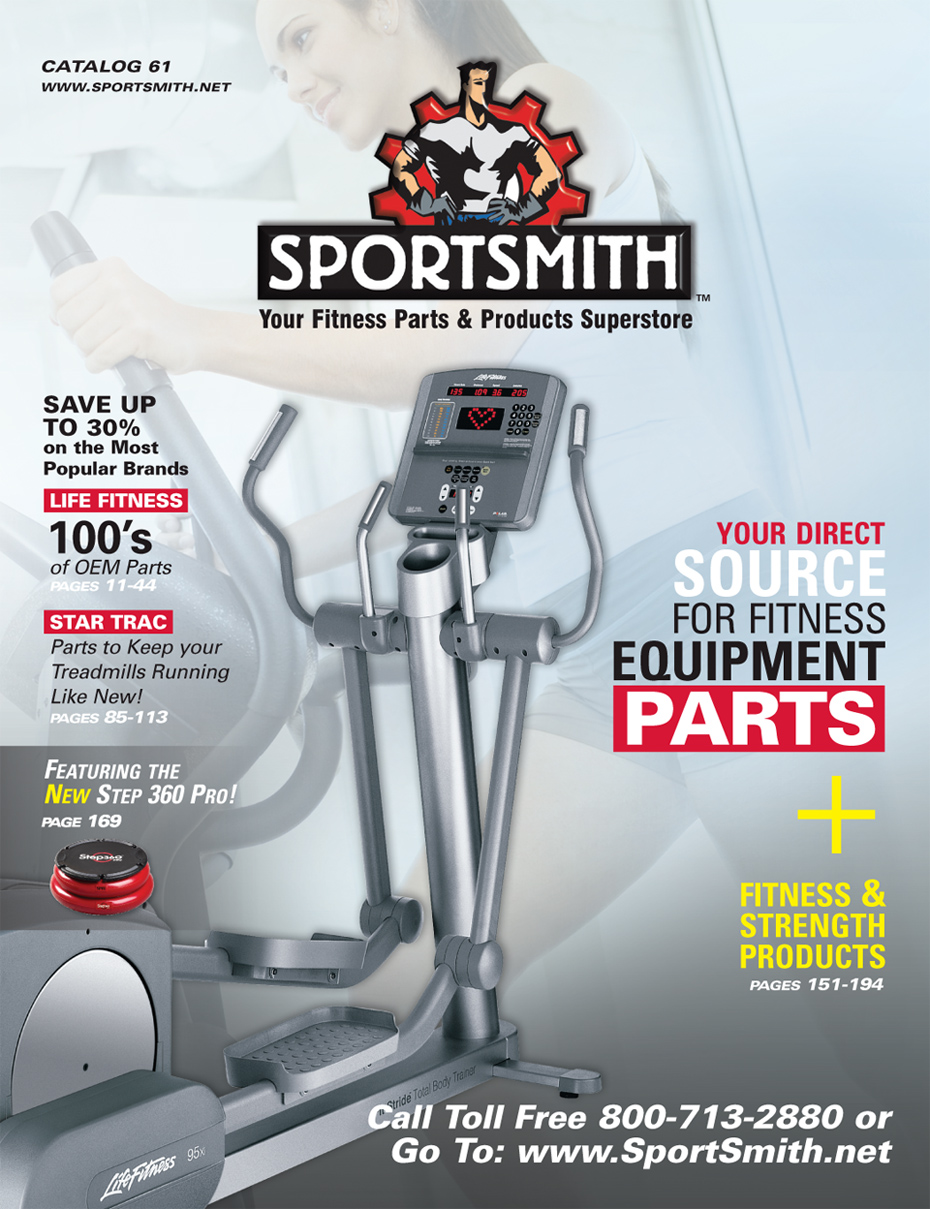 Sportsmith is proud to announce that our Catalog 61 is now available in digital format. Catalog 61 is the first of many in the new online digital format to better serve our customers and take advantage of the growing trend towards digital and online service.
Our digital catalog comes in high-quality Flash format, and you will need Adobe Flash Player 10, which is available for free here. It is incredibly easy to navigate pages and zoom into areas that interest you. It also features a handy search function, so you can go directly to the pages you want with a simple click of the mouse.
Sportsmith is proud to bring our customers the easiest and most convenient ways to place orders with us. One more way to better communicate with the industry we serve. We’re preparing all sorts of new and exciting ways to make your shopping and ordering easier in the near future as well!
To view the digital version of Catalog 61, click here.
How to Remove and Replace the Bottom Bracket on an Indoor Cycling Bike
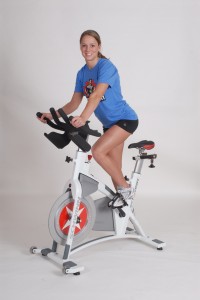 Following is a basic guideline of removing and replacing the bottom bracket on an indoor cycling bike. Due to the different brands of indoor cycling bikes and designs for bottom brackets, the following should only be used as a guideline. If any of the information is not exact to the bike being serviced, refer to the service manual or call Sportsmith for further help.
Common Tools Needed:
- Phillips Screw Driver
- Set of Allen Wrenches (standard and metric)
- Bottom Bracket Tool
- Cotterless Crank Puller Tool
- 9/16” Socket
- Ratchet Wrench
- Pedal Wrench
- Crescent Wrench
You will begin by removing the outside belt/chain guard by using either or both the Phillips screw driver and Allen wrenches. It may be necessary to remove the drive side pedal (using the pedal wrench) in order to completely remove the outside belt/chain guard.
Once the belt/chain guard is removed, you will need to remove the belt/chain. If the unit is belt driven, you can simply “walk” the belt off the pulley by pushing the belt to the outside while turning the crank backwards. **CAUTION: PINCH POINT ** If the unit is chain driven, most use a continuous chain that can be “walked” off the sprocket just like the belt. **CAUTION: PINCH POINT ** Some chains may use a connecting link and can be separated at the connecting link to remove the chain. The connecting link is different in appearance from all other chain links.
Now it is time to remove the crank arms. How to Use a Cotterless Crank Puller Tool
It works best to place the bike upside down for best leverage to remove the bottom bracket. (If placing the bike upside down, ensure proper seat adjustment for best bike balance.) Begin removing the bottom bracket from the drive side of the bike. This side has a reverse thread. You will need to turn right to loosen and remove the bottom bracket. Place the teeth of the bottom bracket tool into the teeth of the bottom bracket cup. Using the ratchet wrench or crescent wrench to turn the bottom bracket tool, you will turn right to loosen and remove the bottom bracket. (If removal of the bottom bracket is difficult, it helps to use a crescent wrench in combination with a bolt threaded into the bottom bracket shaft to hold the tool in place while applying pressure to break the bottom bracket loose.) Remove the bottom bracket from the frame. Remove the bottom bracket cup and/or lock ring from the non-drive side of the bike. This is a standard thread. You will turn left to loosen and remove this bottom bracket cup and/or lock ring.
Install the new bottom bracket from the drive side and tighten flush to the frame. Install the bottom bracket cup and/or lock ring to the non-drive side and tighten.
Re-install the crank arms and pedals. Make sure the crank arm bolts are tightened to the proper torque. If unsure of proper torque specs, refer to the equipment service manual or call Sportsmith.
Re-install the belt/chain onto the pulley/sprocket. If belt/chain was “walked” off the pulley for removal, it can be “walked” onto the pulley/sprocket by placing the belt or chain along the bottom of the pulley/sprocket. Carefully, turn the crank arm forward while lifting on the belt/chain. **CAUTION: PINCH POINT ** Continuing turning the crank forward until the belt/chain is in place.
Re-install the outside chain guard and test the unit. Ride the bike without tension and test with tension. Ensure functionality and feel of the ride. Make any adjustments if necessary.
SPRI Tiger Tail
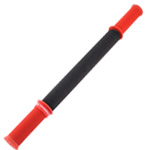 In today’s fast paced world, most people don’t even have time to exercise properly, let alone actually take the time and effort to stretch and massage their muscles correctly. Speaking of massage, it can be a very difficult thing to do by oneself. Usually you need to have a personal trainer handy for such things. This is no longer the case, however. With the Tiger Tail, you can self-massage quickly and easily every time you exercise!
Created by the Sports Performance and Rehabilitation Institute, or SPRI, the Tiger Tail is designed to help you self-massage your own muscles after a strenuous workout. The Tiger Tail comes in three sizes, and features sturdy nylon or heavy plastic handles and a padded massaging surface. Not only can you use the Tiger Tail by yourself, but its also able to be used on you by someone else, so if you do happen to have that personal trainer handy, they can certainly give you a great massage and rubdown using a Tiger Tail.
The smallest of the Tiger Tail line is the To-Go. With a massage surface of seven inches, it’s easy to store this small wonder in a gym bag or locker. Just because it’s small, though, doesn’t mean it doesn’t have everything the larger models have. The padded, rolling massage surface is smooth and durable, and its lightweight makes it easy to tote along with all your other workout equipment.
Next is the middle sized eighteen inch Tiger Tail. Its larger size means it can massage more surface area at a time, making your workout times faster, and your preparation and cool down easier. At only eighteen inches, it is still small enough to toss into a large duffle bag, or even into the bag in which you carry your Yoga equipment.
Finally, the twenty-two inch long Tiger Tail. It is the largest product in the Tiger Tail line, and has all the same features of its smaller cousins. The length makes it ideal for full back massages, and its still small enough to toss into a large gym bag.
SPORTSMITH INSTRUCTIONAL VIDEOS
Recently, SPORTSMITH added a new feature to it’s website. We now host a variety of instructional videos. Simply click on the Support tab on the main page of our website, then click on the boldface Videos link to be taken there. This is a new and exciting feature of our website, and not only do we currently host over fifty different videos, we plan on adding many more in the months to come!
Most of these videos are produced in-house at SPORTSMITH and are created by our talented team of technicians to insure that the information that is given to you is correct and easy to follow. Each video that is hosted on our site also has a set of written instructions directly below the video player so that you can verify that you’re following the instructions correctly.
Currently the videos are broken down into several different sets. These sets cover routine maintenance, parts installation and removal for some of the most popular pieces of fitness equipment on the market today. As of this writing, there are four distinct sets, and they are available for viewing any time of day. Of course, the actual number of videos will be ever changing, so be sure to check out the SPORTSMITH website for updates.
6 videos covering LifeFitness treadmill maintenance, including instructions on how to change the deck and running belt.
10 videos covering various aspects of Schwinn products.
30 videos on many Stairmaster products. These videos cover a range of maintenance and technical aspects for the Stairmaster line.
7 videos detailing maintenance techniques on the Star Trac line of treadmills.
Please be sure to visit our website and check out these informative videos. We also have a Youtube page where you can also watch some of these videos on the Sportsmith Channel. We at SPORTSMITH pride ourselves on not only providing the best in customer service and affordability to our customers, but also a full range of technical support. If you have any questions about what you’ve seen in any of our videos, please feel free to call our knowledgeable tech support staff.
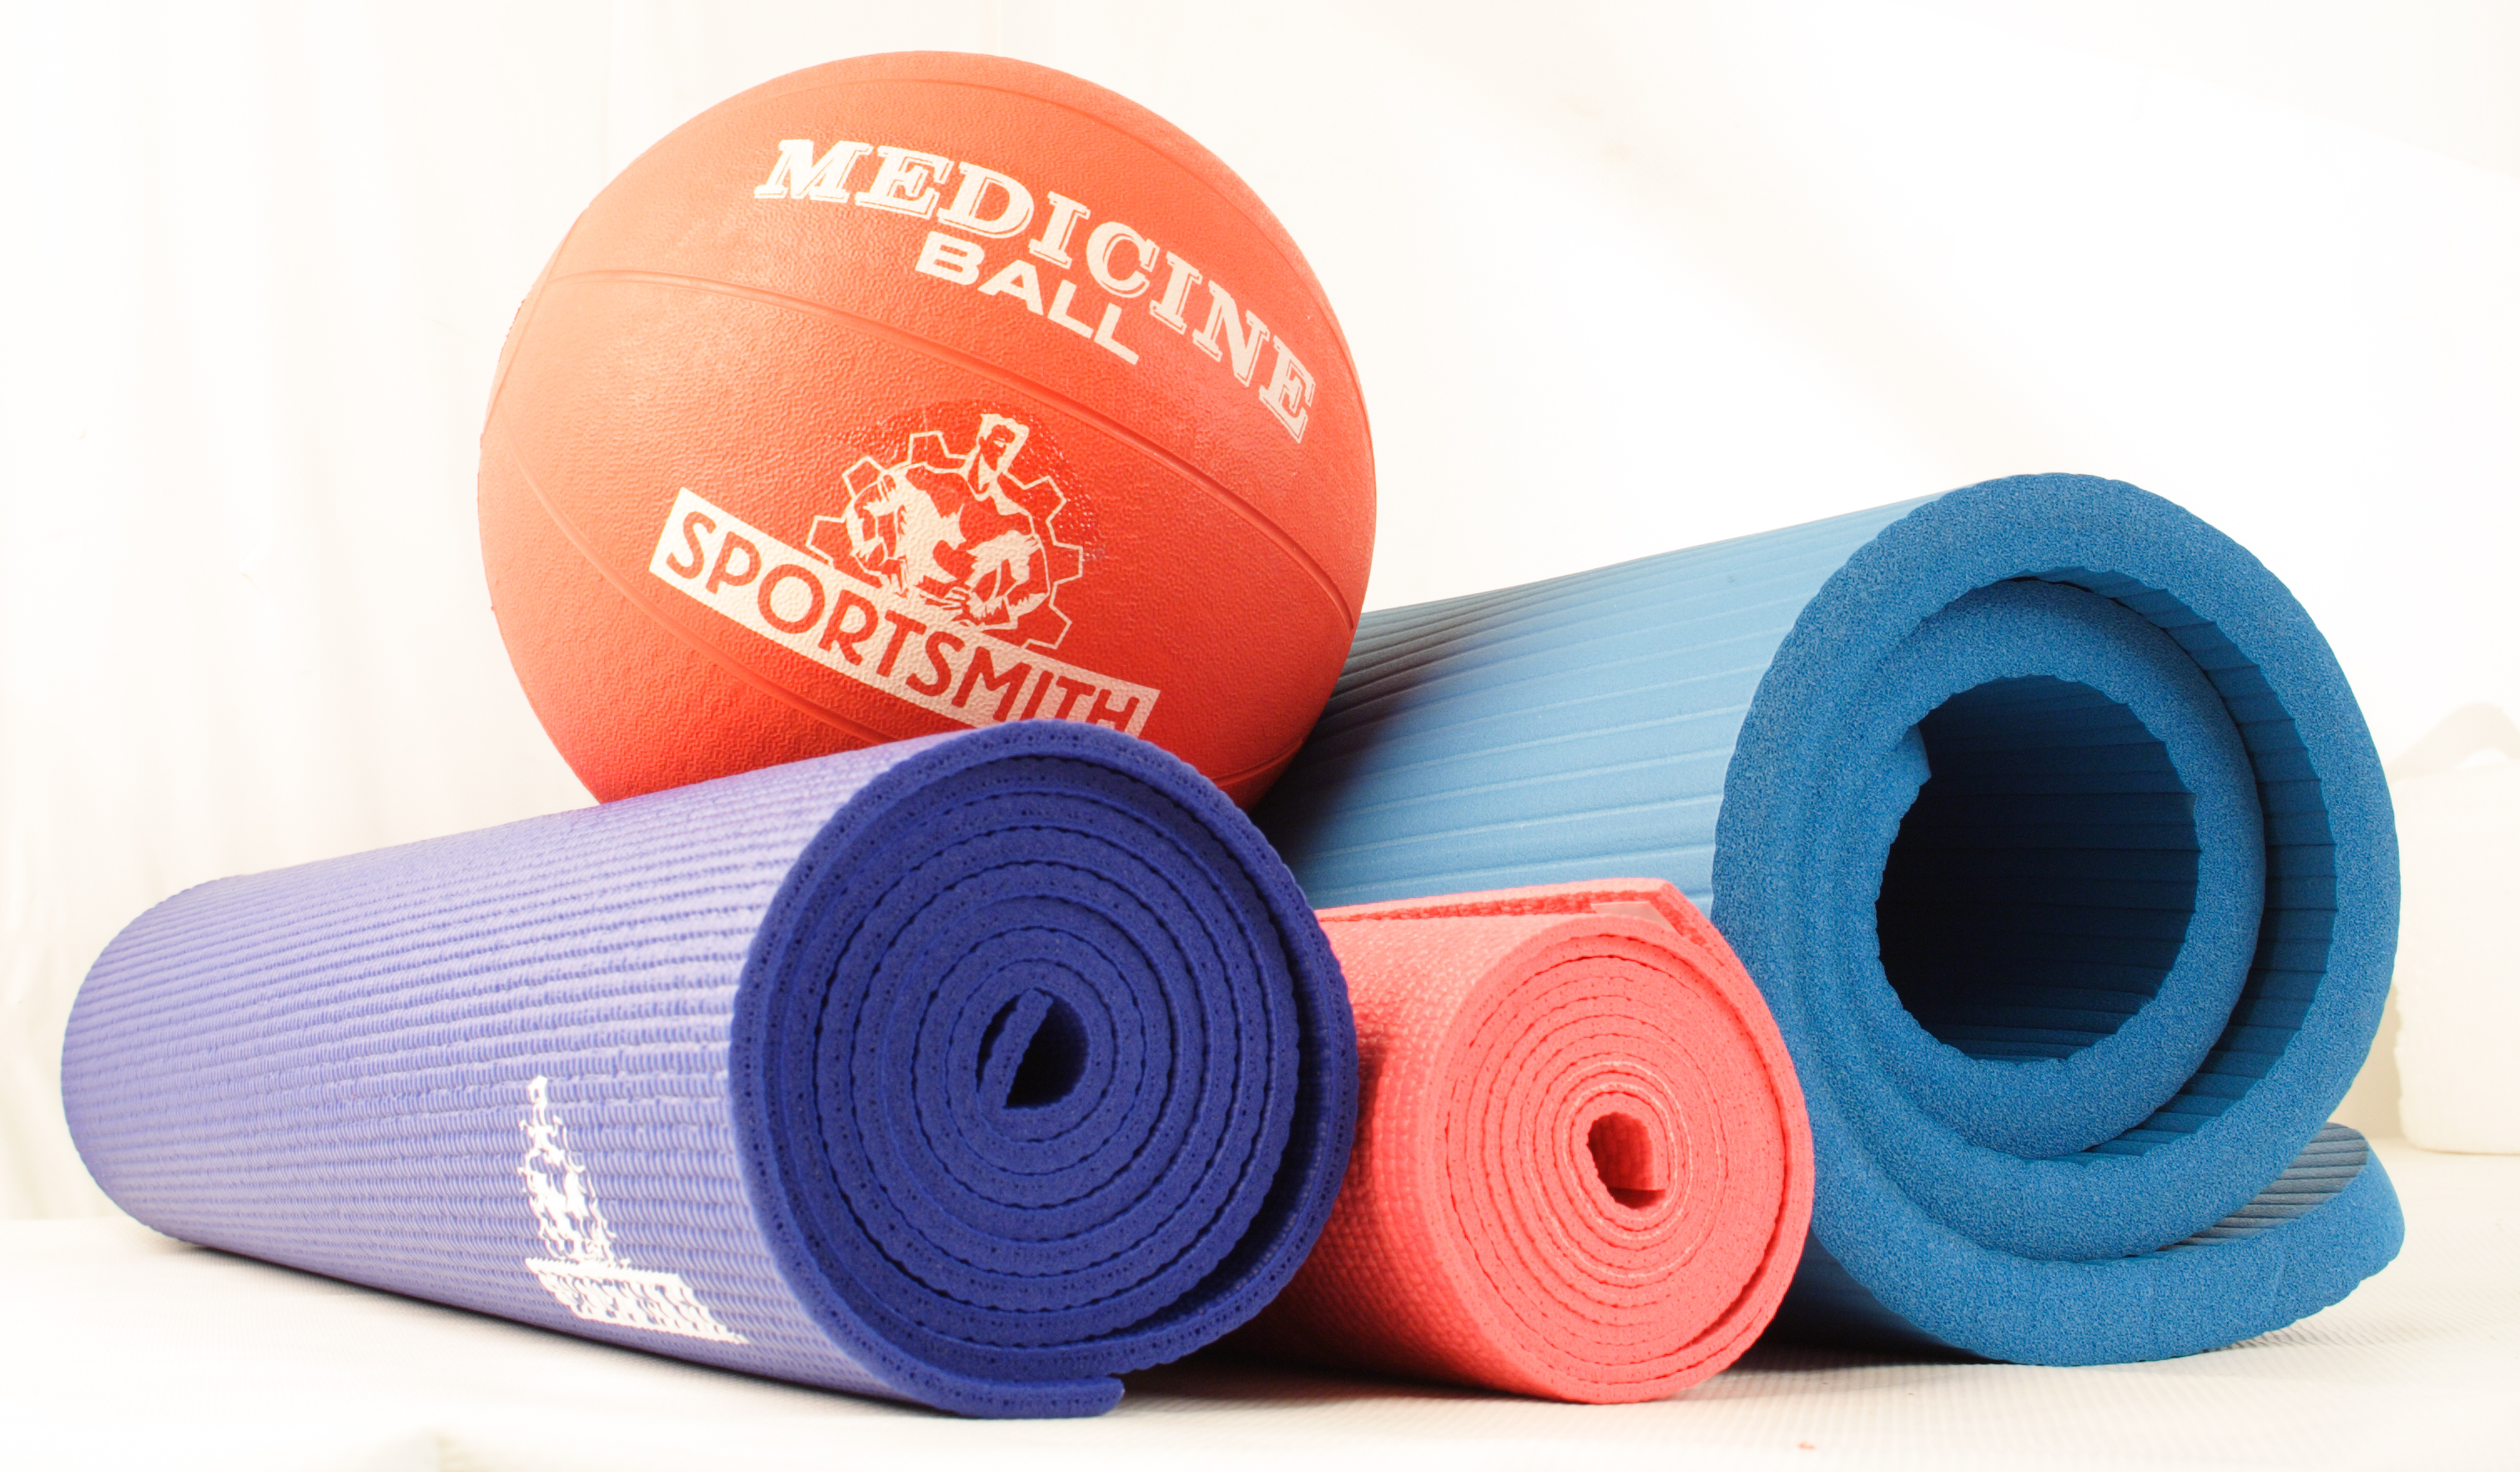 Exercising and staying in shape is a must for many people all over the world. Whether you sign up for a gym or do daily workout routines on your own, exercising can not only keep you in shape, but it will keep you healthier too. Joining a gym is not an uncommon thing for many people – it motivates them to continue to work out and helps them to reach the ultimate goal of either losing weight, toning up, or simply becoming healthier than they were. Many gyms will offer group work out sessions that will incorporate many different exercises, with many different items of equipment, to achieve the goal you are looking for.